The IKEA Iskärna lamp is a stylish addition to any home, but its original design limits functionality to manual control via a single button. This modding project aims to enhance the lamp’s capabilities by replacing its original control board with a custom one, enabling Zigbee control, including integration with Home Assistant. This allows for automated control, custom effects, and remote operation of the lamp.
Required materials
- IKEA Iskärna lamp
- 24V LED controller (Zigbee or other)
- Soldering iron
- Wires
- Screwdriver
- Glue
- Optional Button
Disassembly
The first step is to disassemble the lamp. The lamp is held by a single screw at the back, which can be removed using a screwdriver. Once the screw is removed, the lamp can be opened by pulling the top part from the bottom part.
Replacing the control board
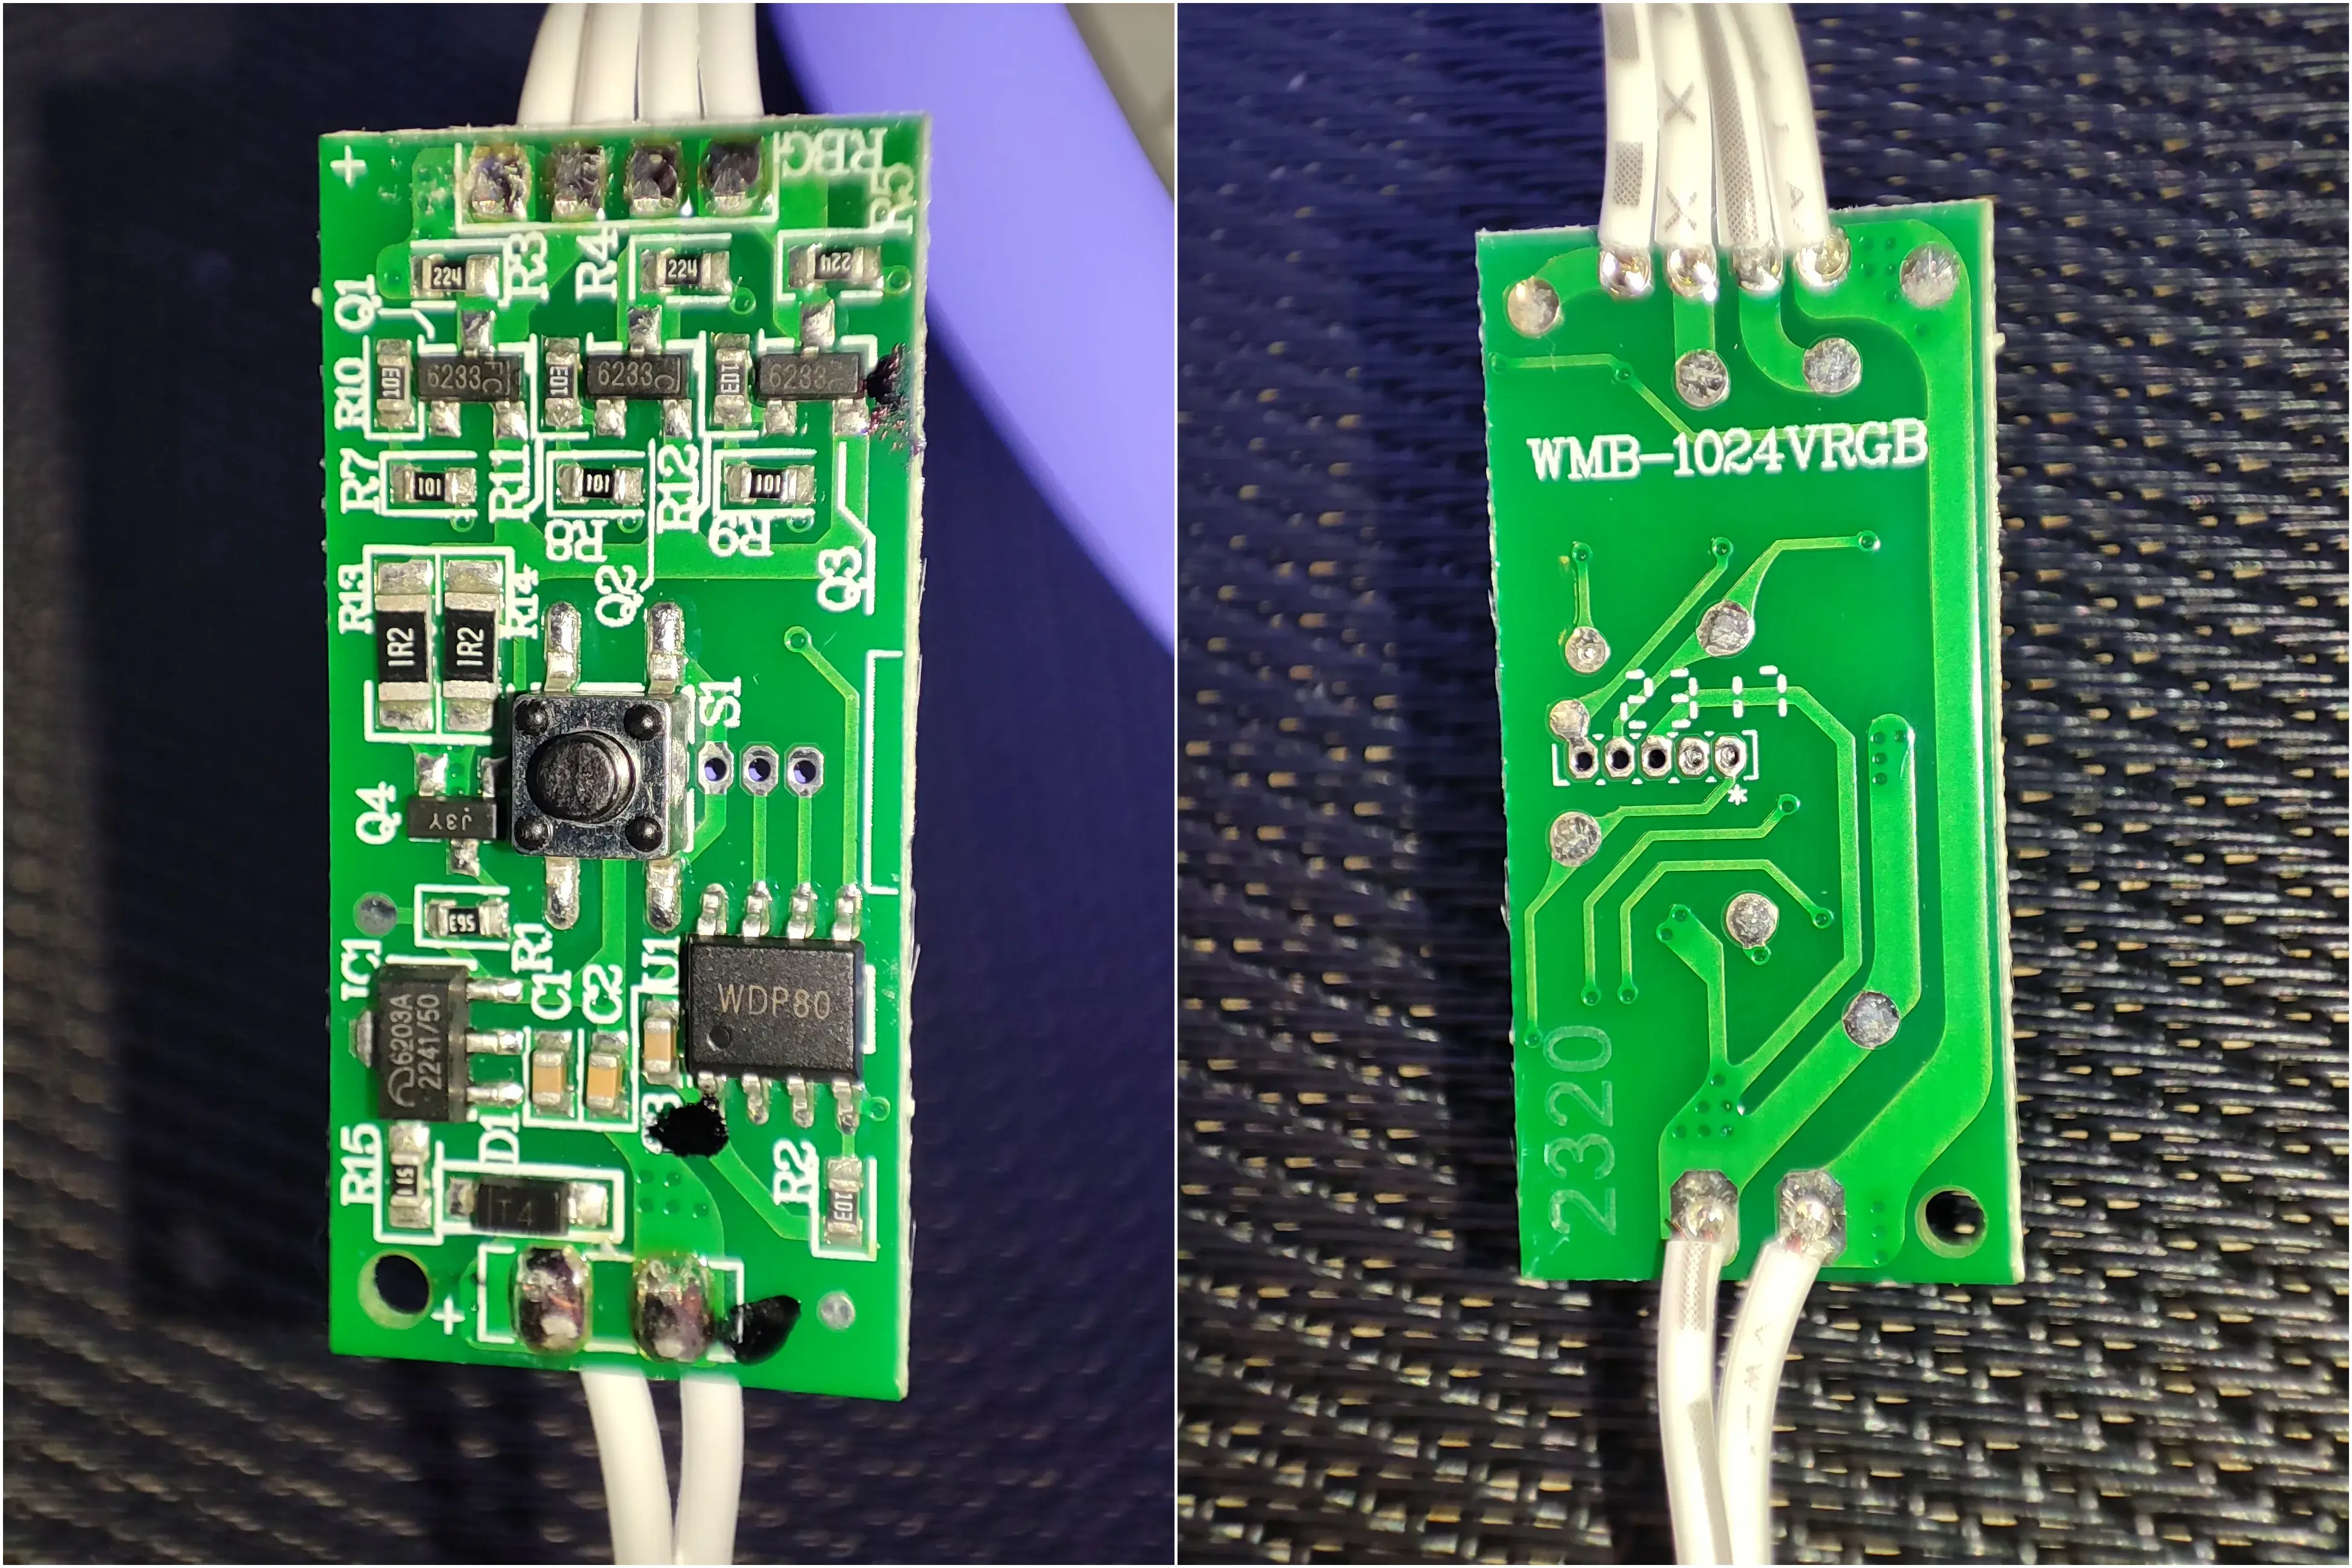
Next, to replace the original control board with a custom one, the original board must be removed. Do this by unsoldering the wires from the original board and removing the board from the lamp, while remembering which wire goes where (+, -, and the LEDs). Note that the original board is wired as RGB+, but at least they labeled the individual cables with shapes so you can tell them apart.
The custom board can then be soldered in place of the original board, with the wires connected to the appropriate pins. By keeping the original power supply, no modifications are needed to the power supply and you can just hook up the new board to the original power receptacle inside the lamp.
For the button to still work, you need a fitting board. However, this is very hard to find, so I just attached a new button to the new board and wired it to the original button location. This way, the original button still works. This allows you to still control the light manually and pair it in case you use a zigbee module.
Reassembly
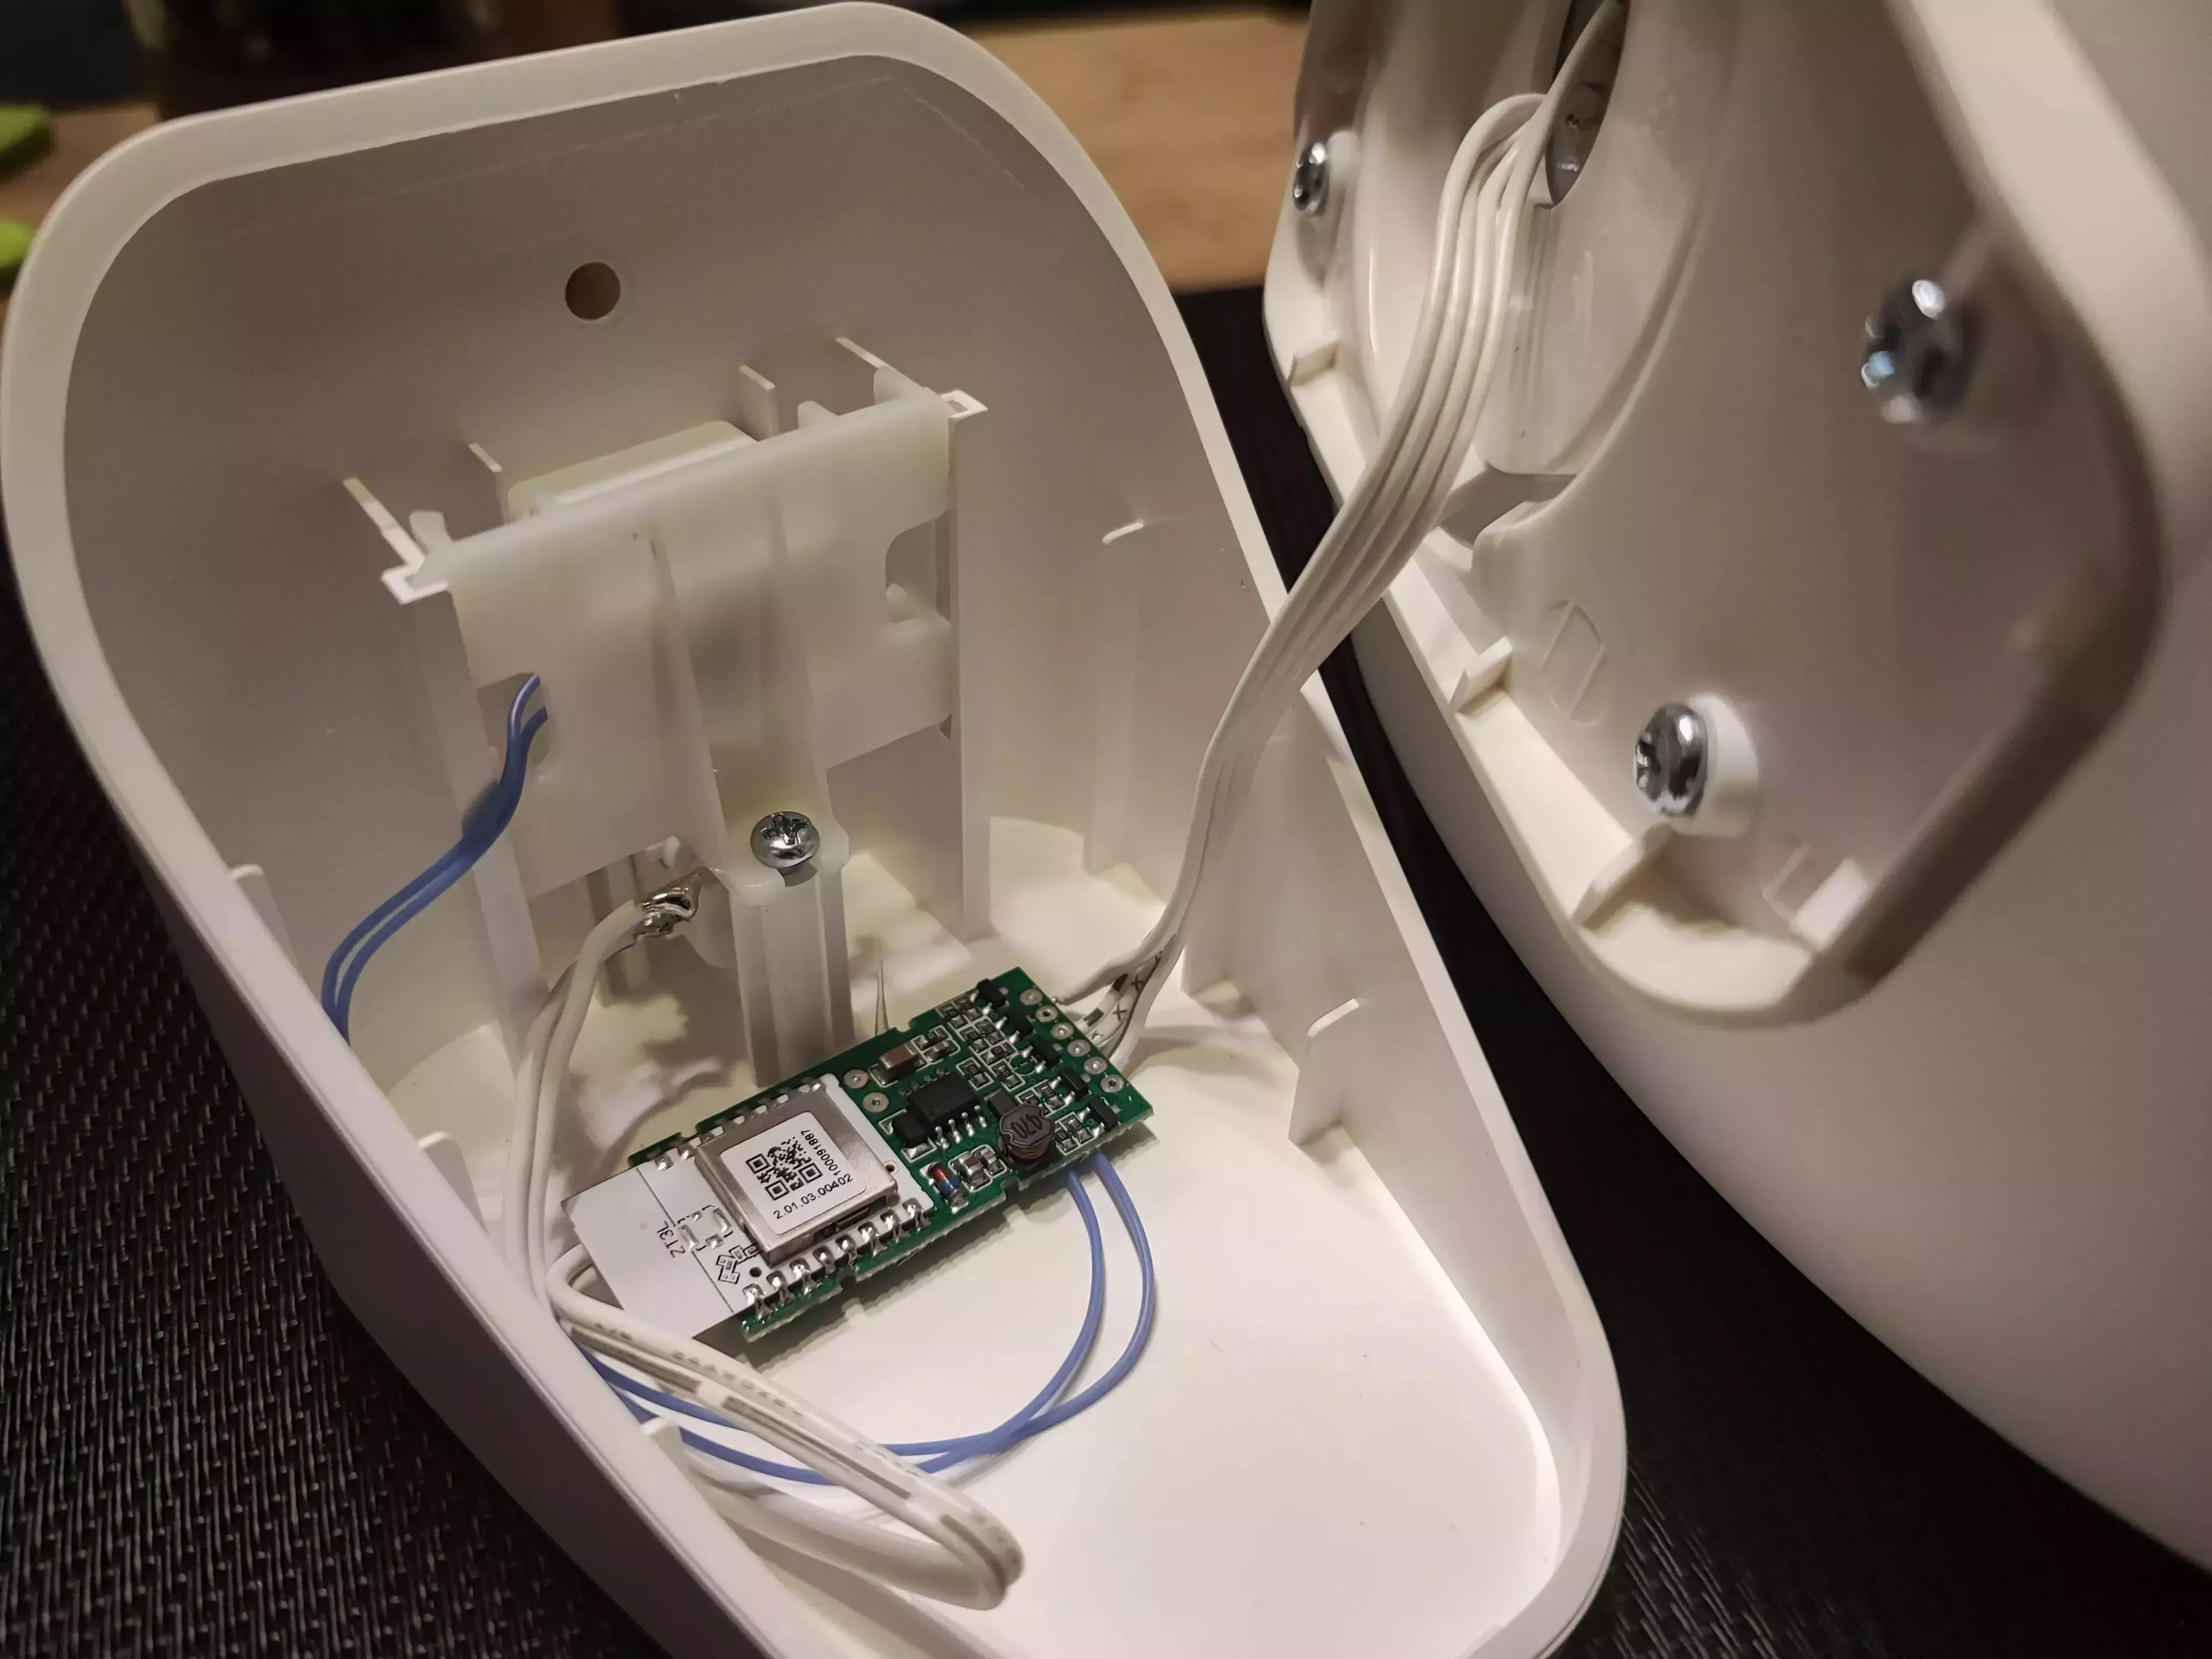
If you added a custom button to the new board, you need to glue it to the sliding piece inside the lamp, which originally held the button. Then you can also glue the new board to the bottom of the lamp. Once the new board is in place, the lamp can be reassembled by putting the top part back on the bottom part and screwing it back together.
Conclusion
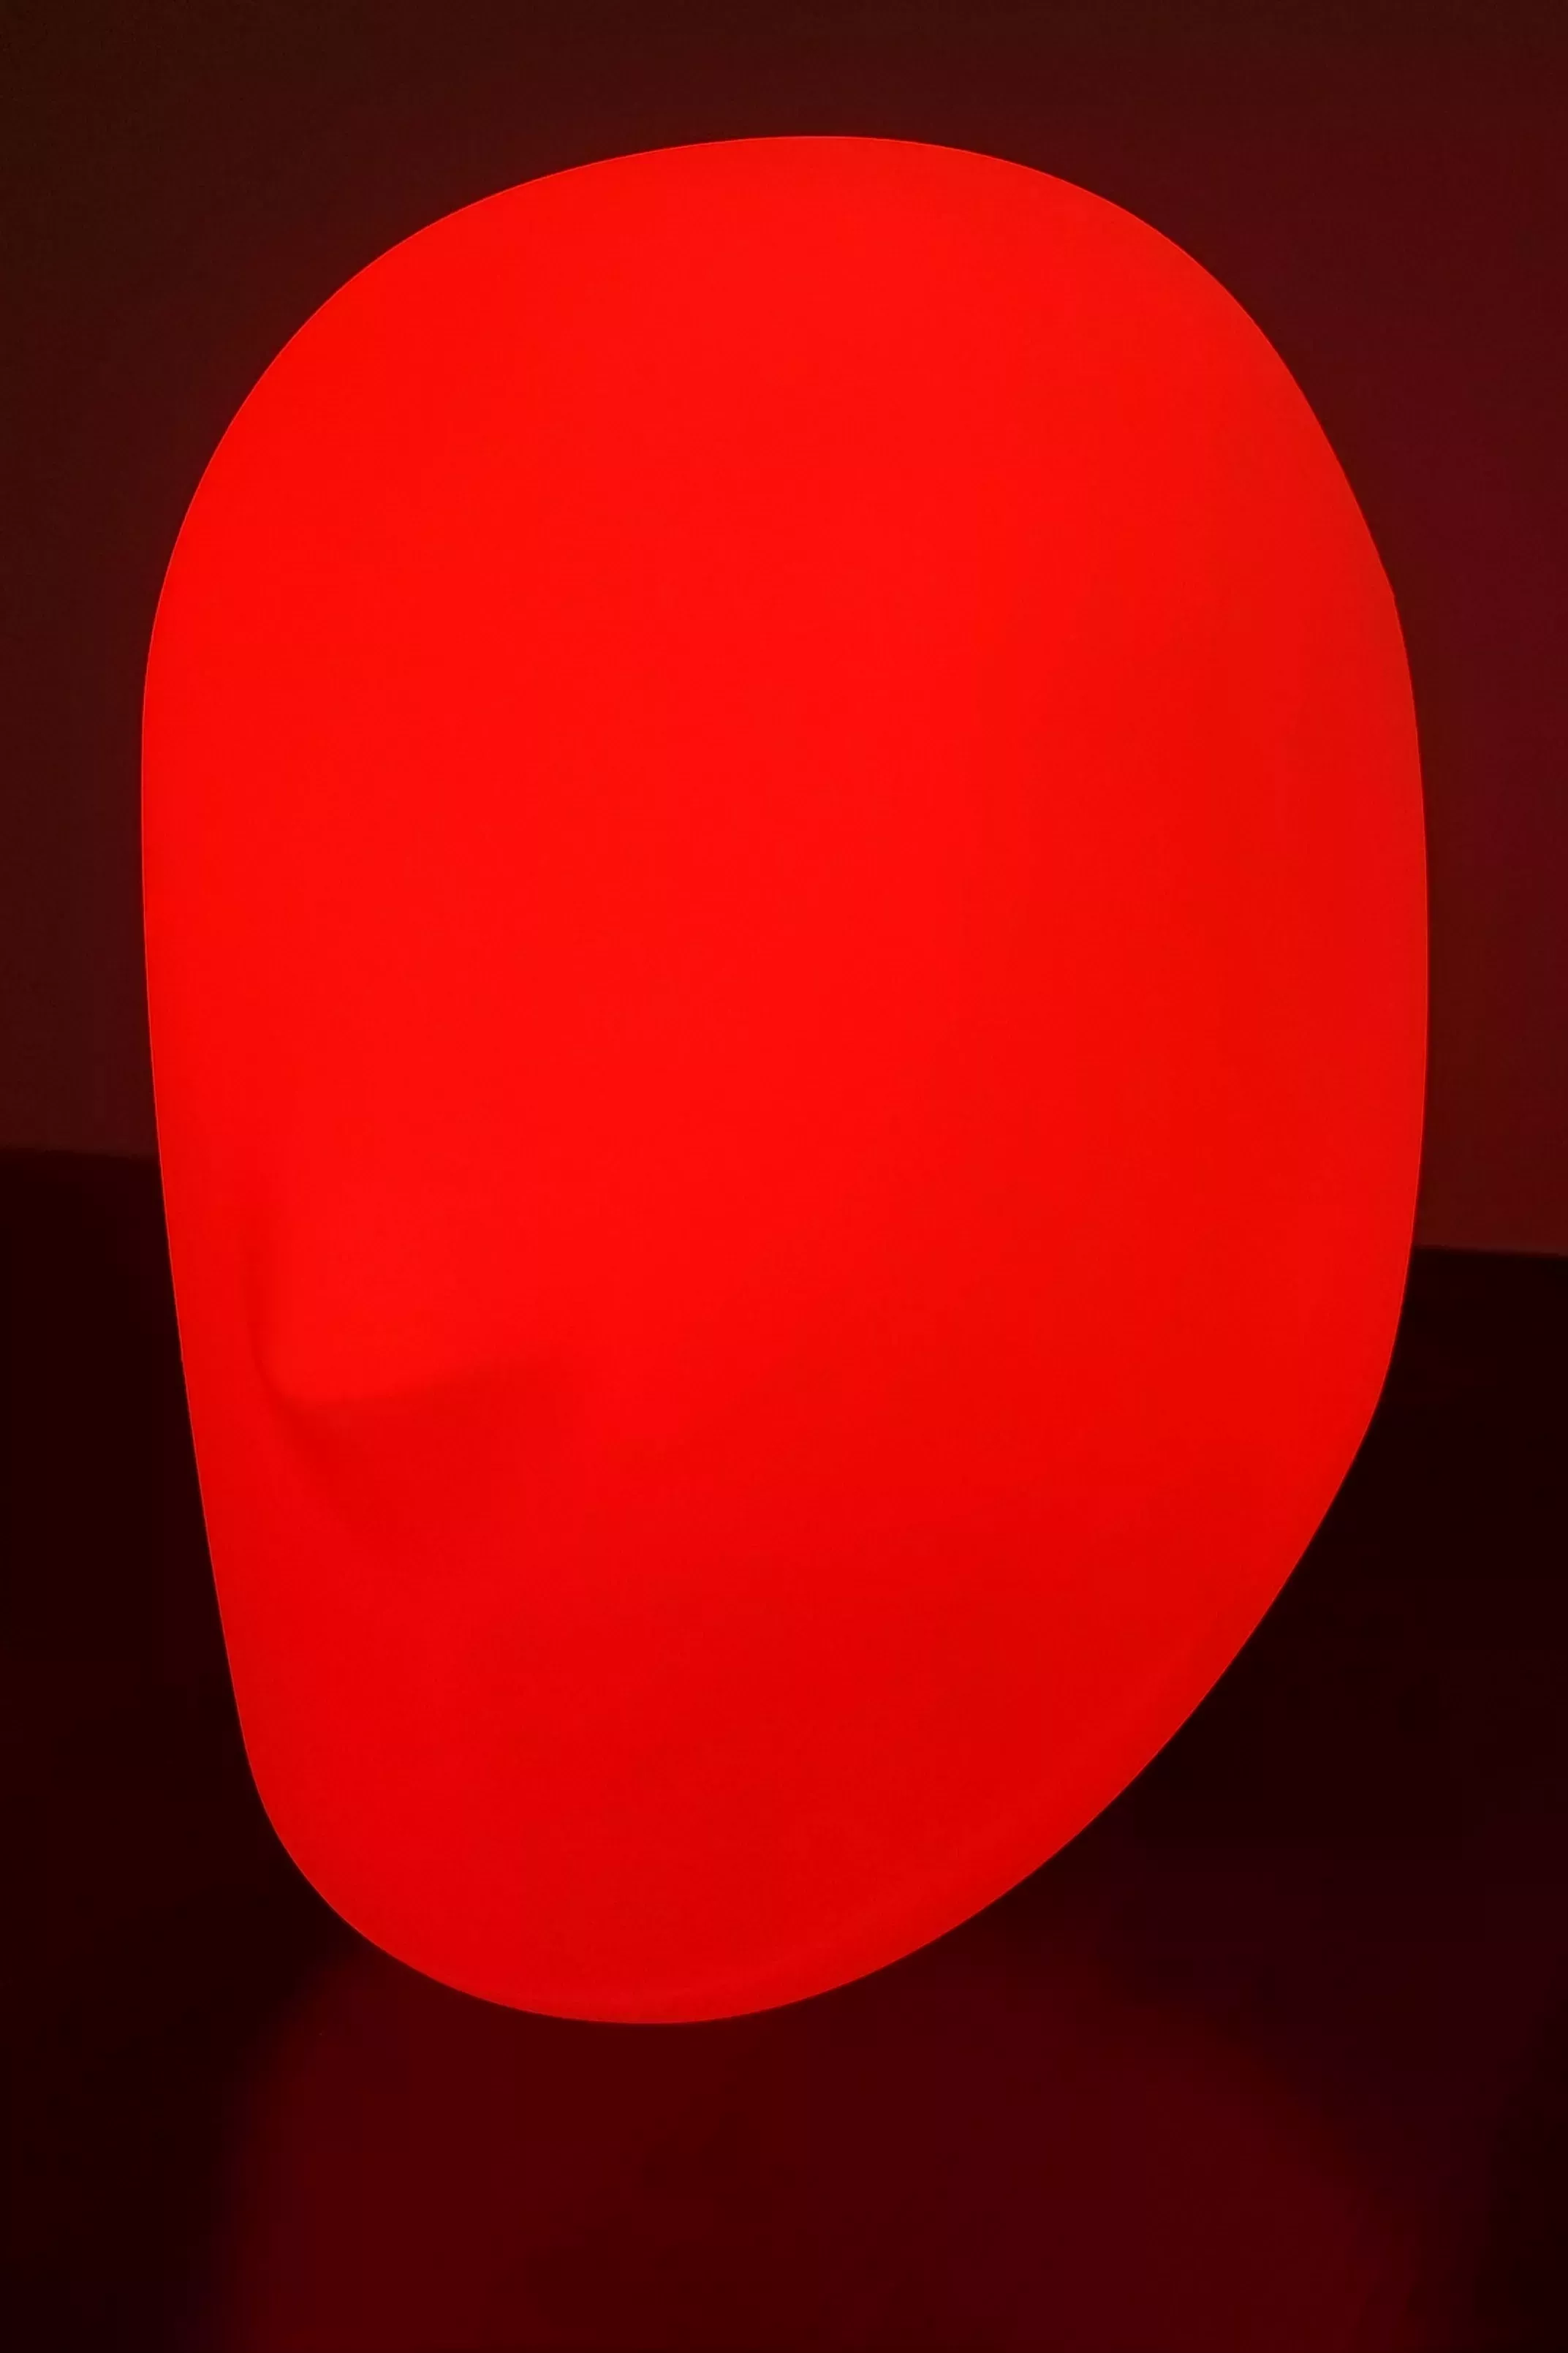
Uppon pairing the new board with your zigbee network, you can now control the light from home assistant, set it to turn on automatically, or use custom effects. This modding project allows for a more versatile use of the IKEA Iskärna lamp, enhancing its functionality and integration with smart home systems.
Depending on which LED controller you use, the possibilities change. For example, with certain LED controllers, you could connect the lamp to Philips Hue or to IKEA’s own smart home system (TRÅDFRI, DIRIGERA). Before the modification, this was not possible, as the lamp could only be controlled manually.
Maybe you can set it up as an automatic night light or have simulate a sunrise in the morning.